
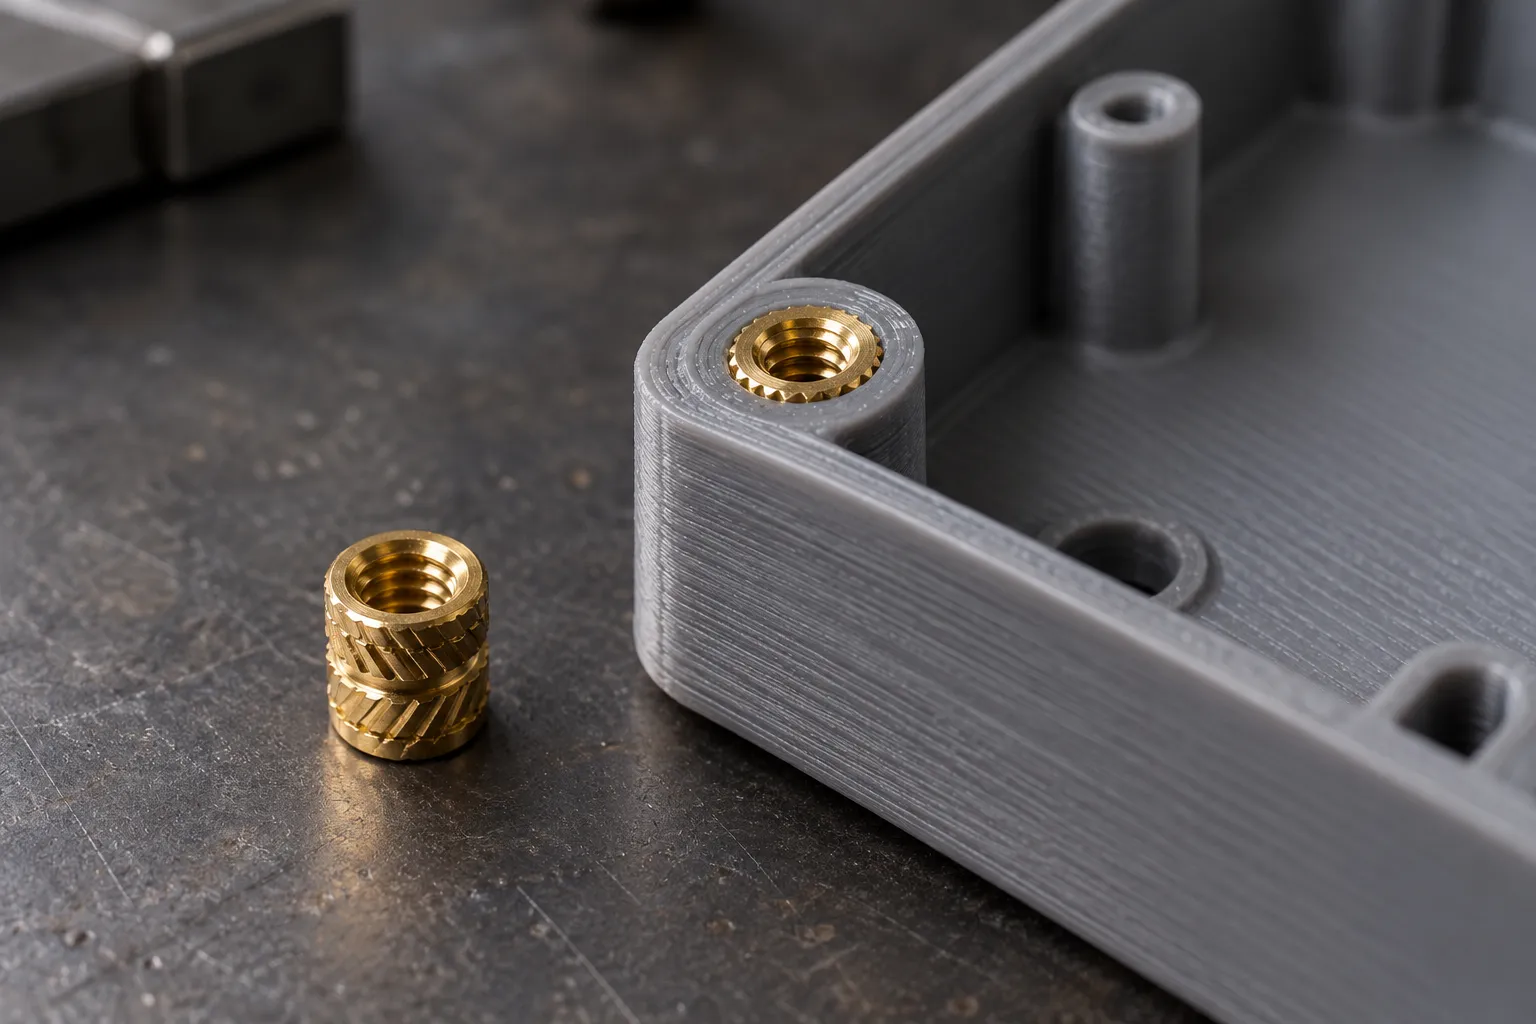
Insert style, polymer, wall thickness and print orientation interact. A hole sized for one insert or process can split, deform or provide poor retention with another. Manufacturer dimensions are a starting point for verification, not a guarantee in every print.
Practical checks
- Identify the insert type and the compatible polymer.
- Check boss diameter, nearby walls and access for installation.
- Use the insert supplier’s hole guidance for the actual manufacturing process.
- Trial installation and loading on a representative coupon before a batch.
Record the finding against the actual part, machine or drawing revision. A useful check identifies both the observation and the conditions under which it was made, so another person can review it.
Common mistakes to avoid
- Do not drive an insert into an unverified undersized hole.
- Do not assume metal threads make the surrounding printed feature suitable for any preload.
What to collect before a review
- Model and insert designation
- Polymer and printing process
- Fastening duty and installation method
Send clear original files where available. Mark uncertain dimensions, missing information and the result you need. Separate confirmed requirements from assumptions instead of filling the gaps with guessed specifications.
The next decision
Approve a representative installation and define the permitted fastening load. Critical or repeated-duty joints need testing appropriate to the application.
Discuss this requirement
Crecer Grande can review the information you already have and confirm the feasible scope, evidence needed and commercial next step.
Send your requirement → Browse the libraryGeneral engineering guidance; equipment instructions and the applicable drawing or specification govern the actual work.